Tech · US · howto
How to Set Up a Dual Monitor Display with a USB-C Hub
Published May 27, 2026
Disclosure: This page may include affiliate links. We may earn a commission if you buy through them.
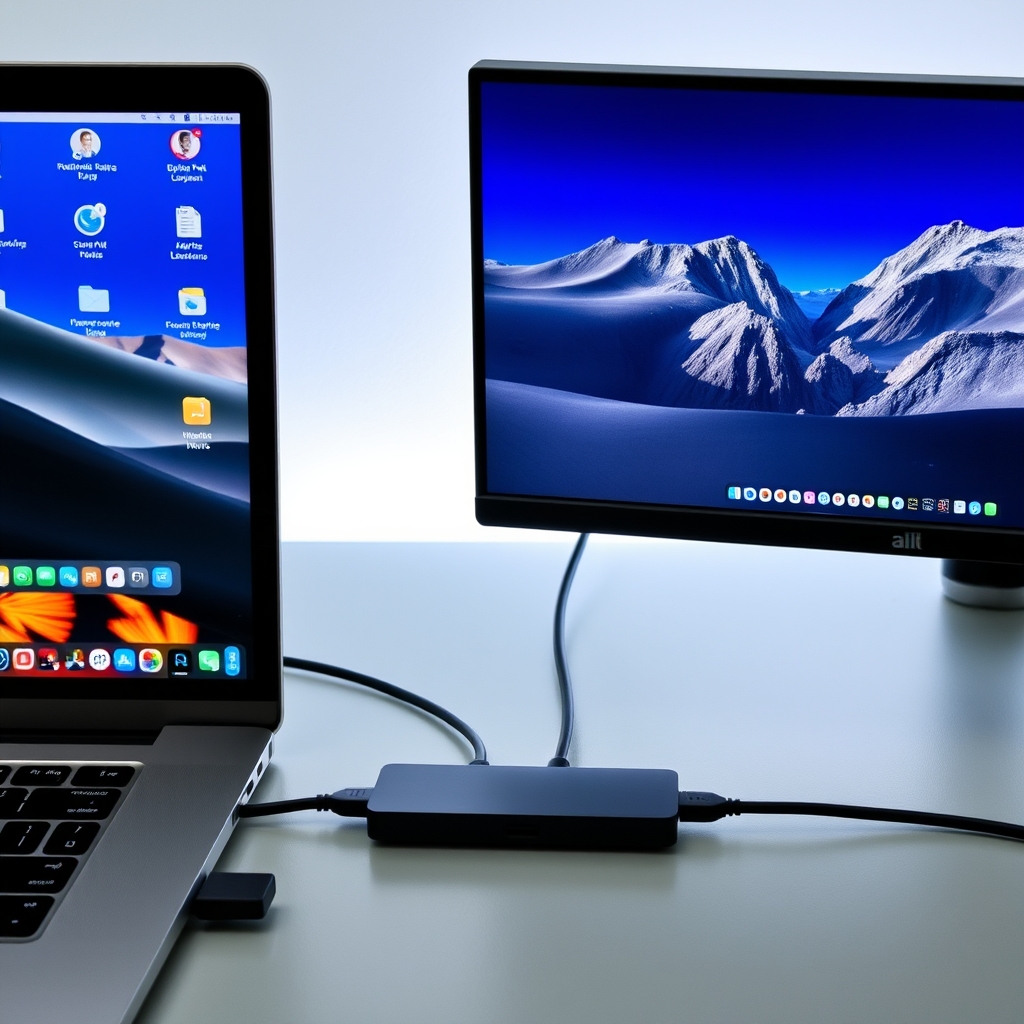
Expanding your workspace with dual monitors can significantly boost productivity, and a USB-C hub makes this process surprisingly straightforward. This guide will walk you through setting up a dual monitor display using a single USB-C connection to your laptop. You’ll be up and running in under an hour, with minimal technical expertise required.
Before You Start
Skills: Basic computer literacy (navigating operating system settings). Familiarity with connecting cables.
Tools: Phillips head screwdriver (occasionally needed for monitor stands).
Materials:
- Laptop with a compatible USB-C port (see Step 1).
- Two monitors with appropriate input ports (HDMI, DisplayPort, or USB-C).
- Video cables for each monitor (e.g., HDMI to HDMI, DisplayPort to DisplayPort, USB-C to USB-C).
- A compatible USB-C hub that supports dual displays.
- Power outlets for the laptop, hub, and monitors.
Accounts: None required.
Estimated Time
Total Time: 30-60 minutes
Pace: Leisurely
Steps
-
Identify Your Laptop’s USB-C Port Capabilities Before purchasing a hub, it’s crucial to understand what your laptop’s USB-C port can do. Not all USB-C ports are created equal. Look for the Thunderbolt 3 or Thunderbolt 4 symbol (a lightning bolt) next to the port, or check your laptop’s specifications online. Ports supporting DisplayPort Alternate Mode (often indicated by a ‘DP’ logo) are also essential for video output. If your port only supports data transfer or charging, it won’t be able to drive external displays.
Why this matters: Using a hub with a port that doesn’t support video output will result in no signal on your monitors, even if the hub itself is functional.
-
Choose the Right USB-C Hub Select a USB-C hub that explicitly supports dual monitor output and is compatible with your laptop’s capabilities (identified in Step 1). Pay close attention to the hub’s specifications regarding the number and type of display outputs (HDMI, DisplayPort, USB-C) and the maximum resolution and refresh rate it supports for each monitor. For instance, some hubs might support two 1080p displays at 60Hz, while others can handle two 4K displays. Ensure the hub also provides sufficient power delivery (PD) if you intend to charge your laptop through it, and check if it has the other ports you need (USB-A, Ethernet, SD card reader).
Common mistake: Buying a hub that only supports a single external display or doesn’t meet the resolution/refresh rate requirements for your monitors.
-
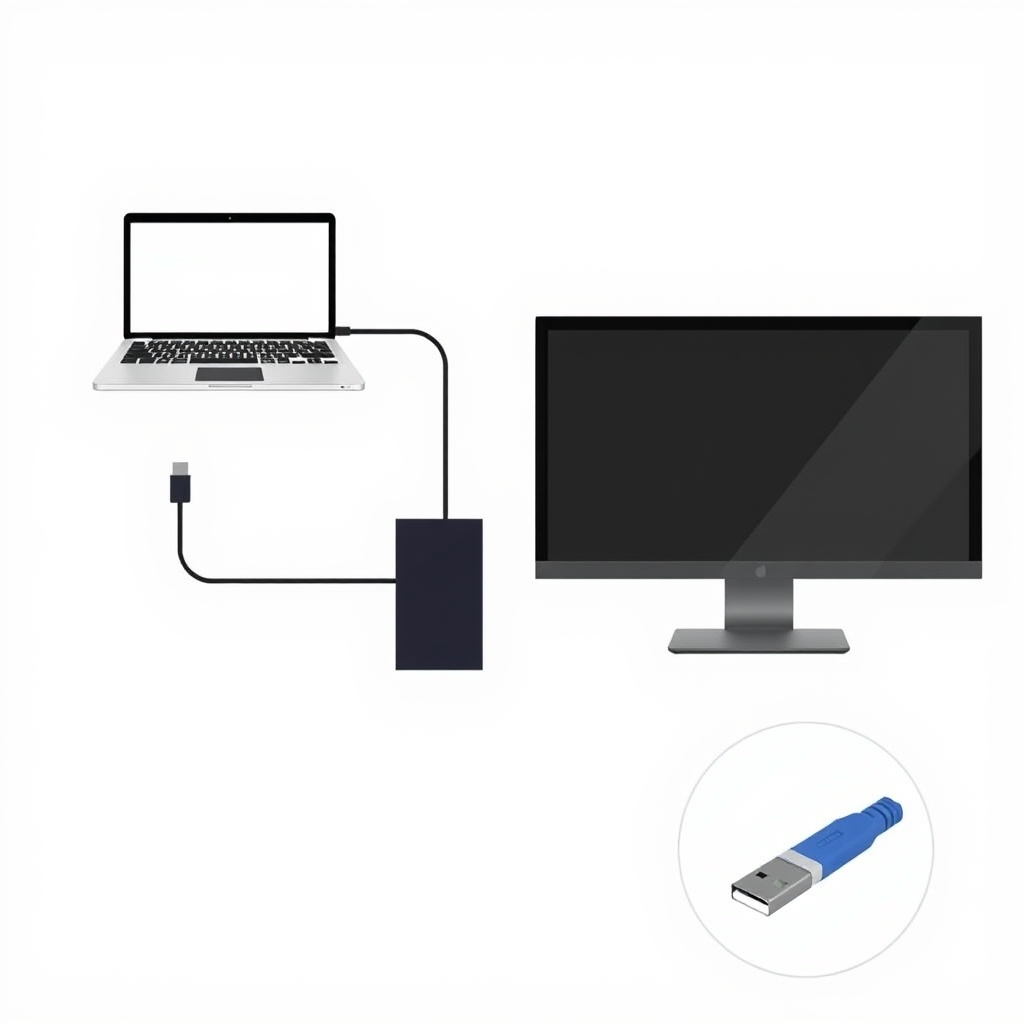
Connect Your Monitors to the Hub Using the appropriate video cables, connect each of your monitors to the corresponding display output ports on the USB-C hub. For example, if your monitors have HDMI inputs and your hub has two HDMI outputs, connect one HDMI cable from the first monitor’s HDMI port to the hub’s first HDMI output, and repeat for the second monitor. Ensure the cables are securely plugged into both the monitor and the hub. If your monitors have different input types (e.g., one HDMI, one DisplayPort), use the corresponding ports on the hub.
Why this matters: Incorrect cable connections or using the wrong type of cable can prevent the signal from reaching the monitors.
-
Connect the Hub to Your Laptop Plug the USB-C cable from the hub into the compatible USB-C port on your laptop (the one you identified in Step 1). If your hub has a separate power adapter, plug it into a wall socket and connect it to the hub. Many USB-C hubs draw power from the laptop, but for optimal performance, especially with multiple peripherals connected, using a hub with its own power adapter is recommended. Once connected, your laptop should detect the hub and any connected monitors.
Common mistake: Plugging the hub into a USB-C port that doesn’t support video output, or not providing sufficient power to the hub if it requires it.
-
Configure Your Display Settings in Windows/macOS Your operating system should automatically detect the new displays. If not, you may need to manually trigger detection.
For Windows: Right-click on your desktop and select ‘Display settings’. Under ‘Multiple displays’, ensure your monitors are detected. You can choose to ‘Extend these displays’, ‘Duplicate these displays’, or ‘Show only on 1/2’. ‘Extend these displays’ is typically preferred for a dual monitor setup. You can also rearrange the monitor layout to match their physical placement.
For macOS: Go to ‘System Settings’ (or ‘System Preferences’) > ‘Displays’. Your connected displays should appear. Click on each display to adjust resolution, refresh rate, and arrangement. To extend your desktop, ensure ‘Mirror Displays’ is unchecked. You can drag the menu bar to your primary display.
Why this matters: Proper configuration ensures you can utilise both screens effectively for multitasking and that they are set to their optimal resolution and refresh rate.
-
Adjust Resolution and Refresh Rate Within your operating system’s display settings (as described in Step 5), check the resolution and refresh rate for each monitor. Ideally, set them to their native resolution and the highest supported refresh rate (commonly 60Hz or higher) for the clearest image and smoothest motion. If you experience issues like flickering or lag, try reducing the refresh rate or resolution. Ensure the settings match the capabilities of your monitors and the USB-C hub.
Common mistake: Leaving monitors at a default lower resolution or refresh rate, or setting them beyond the hub’s or monitor’s capabilities, leading to performance issues.
-
Set Your Primary Display and Extend Desktop In your display settings, designate which monitor will be your primary display (the one with the taskbar and system icons by default). You can do this by selecting the desired monitor and checking the ‘Make this my main display’ option (Windows) or dragging the white menu bar to it (macOS). Ensure that the ‘Extend these displays’ option is selected so that you have a continuous desktop area across both monitors, rather than mirroring the same image.
Why this matters: Designating a primary display ensures consistency, and extending the desktop allows you to maximise your screen real estate for multitasking.
Troubleshooting Common Issues
No Signal on Monitors
- Check Connections: Ensure all cables (USB-C to laptop, video cables to monitors and hub) are securely plugged in. Try a different USB-C port on your laptop if available.
- Verify Port Capability: Confirm your laptop’s USB-C port supports DisplayPort Alternate Mode or Thunderbolt. Refer to your laptop’s manual or manufacturer’s website. Source: Intel Thunderbolt Technology
- Hub Power: If your hub has a separate power adapter, ensure it’s plugged in and functioning. Some hubs require external power for dual display output.
- Monitor Input Source: Check that each monitor is set to the correct input source (e.g., HDMI 1, DisplayPort, USB-C).
- Try a Different Hub/Cable: Test with a known working USB-C hub or video cable to rule out faulty hardware.
Incorrect Resolution or Refresh Rate
- Check Hub/Laptop Specs: Ensure the USB-C hub and your laptop’s USB-C port support the desired resolution and refresh rate. Not all hubs support 4K@60Hz on both displays simultaneously. Source: USB-C DisplayPort Alternate Mode Overview
- Update Graphics Drivers: Outdated graphics drivers can cause display issues. Update them via your laptop manufacturer’s website or directly from the GPU manufacturer (NVIDIA, AMD, Intel).
- OS Settings: Double-check the display settings in Windows or macOS to ensure the correct resolution and refresh rate are selected for each monitor.
Flickering or Intermittent Display
- Cable Quality: Poor quality or damaged video cables can cause flickering. Try using certified, higher-quality cables.
- Hub Overload: If too many devices are drawing power or bandwidth from the hub, it can lead to instability. Disconnect unnecessary peripherals.
- Power Issues: Ensure the hub is adequately powered, especially if it’s a bus-powered model. Using the hub’s dedicated power adapter can resolve this.
- Reduce Resolution/Refresh Rate: Temporarily lower the resolution or refresh rate to see if the flickering stops. If it does, the issue might be bandwidth limitations.
Hub Not Recognized
- Re-plug: Disconnect and reconnect the USB-C cable to the laptop. Try a different USB-C port.
- Restart Laptop: A simple restart can often resolve detection issues.
- Driver Issues: Ensure your laptop’s USB-C drivers and chipset drivers are up to date. Check your laptop manufacturer’s support page.
- Hub Firmware: Some advanced hubs have firmware that can be updated. Check the manufacturer’s website for updates.
Audio Issues
- Audio Output Device: In your OS sound settings, ensure the correct audio output device is selected. Sometimes, the USB-C hub might present itself as an audio device.
- Monitor Speakers: If your monitors have built-in speakers, ensure they are enabled and selected as the audio output.
- Hub Audio Port: If your hub has a dedicated audio jack, ensure it’s functioning correctly and that your speakers/headphones are plugged into it.
Safety and Cautions
- Power: Always use the power adapter supplied with your USB-C hub if it comes with one. Avoid overloading power strips.
- Static Discharge: When handling internal components (though unlikely for this setup), ground yourself to prevent static discharge.
- Cable Management: Ensure cables are neatly managed to prevent tripping hazards and strain on ports.
FAQ
Q1: Can any USB-C port support dual monitors?
A1: No. The USB-C port must support DisplayPort Alternate Mode (DP Alt Mode) or Thunderbolt 3/4 to output video signals. Check your laptop’s specifications.
Q2: Will a USB-C hub charge my laptop while powering two monitors?
A2: Many hubs support Power Delivery (PD) and can charge your laptop. Check the hub’s wattage rating (e.g., 60W, 100W) and ensure it meets your laptop’s charging requirements. Some high-power setups might require the laptop’s original charger in addition to the hub.
Q3: What’s the difference between HDMI and DisplayPort for USB-C hubs?
A3: Both can carry video and audio. DisplayPort generally offers higher bandwidth, supporting higher resolutions and refresh rates, and is often preferred for gaming or professional graphics work. HDMI is more common on consumer devices. For dual monitor setups, check the hub’s specifications for how it distributes bandwidth between ports.
Q4: Can I use two different types of monitors (e.g., one 4K, one 1080p)?
A4: Yes, most USB-C hubs and operating systems allow you to connect monitors with different resolutions. However, the hub must support the highest resolution required, and the overall performance might be limited by the capabilities of the hub and your laptop’s graphics card.
Conclusion
You’ve successfully set up a dual monitor display using a USB-C hub, expanding your digital workspace for enhanced productivity. Enjoy the benefits of more screen real estate for multitasking and improved workflow. Next, consider optimising your workflow by learning keyboard shortcuts for window management across multiple displays.
Essential Gear for Your Dual Monitor Setup
Amazon
Shop noise cancelling earbuds on Amazon
noise cancelling earbuds
Open offerAmazon
Shop bluetooth headphones on Amazon
bluetooth headphones
Open offerAmazon
Shop wireless earbuds on Amazon
wireless earbuds
Open offerAlternative Display Connection Methods
Explore other ways to connect multiple monitors to your computer, beyond USB-C hubs, to find the best solution for your needs.
Guides for Optimizing Your Workspace
Learn how to enhance your productivity and comfort with related guides on monitor setup, desk organization, and ergonomic best practices.
- https://www.intel.com/content/www/us/en/products/docs/devices-peripherals/thunderbolt/thunderbolt-technology-brief.html
- https://www.displayport.org/cables/how-to-choose-a-displayport-cable/
- https://support.microsoft.com/en-us/windows/troubleshoot-connecting-a-monitor-to-your-pc-c4c90668-0f49-a27a-7f23-33d11160027c
Shop USB-C Hubs and Accessories
Amazon
Shop noise cancelling earbuds on Amazon
noise cancelling earbuds
Open offerAmazon
Shop bluetooth headphones on Amazon
bluetooth headphones
Open offerAmazon
Shop wireless earbuds on Amazon
wireless earbuds
Open offerVisual Summary