Tech · AU · howto
Optimizing Wi-Fi: Router Placement for a Two-Story House in Australia
Published May 27, 2026

Getting strong Wi-Fi on both levels of your home doesn’t require a tech degree. This guide will show you how to position your router for optimal coverage throughout your two-story Australian house. You’ll learn the best spots, common pitfalls, and how to test your signal strength, all within an hour or two.
Before You Start
- Skills: Basic understanding of your home’s layout. No advanced technical skills are needed.
- Tools: None required for basic placement. A smartphone or tablet is needed for testing.
- Materials: Your existing Wi-Fi router and modem (if separate).
- Accounts: None required.
Estimated Time
- Total Time: 1-2 hours
- Pace: Casual, allowing for testing and minor adjustments.
1. Understand Your Wi-Fi Signal
Your Wi-Fi router broadcasts a signal that travels outwards. Think of it like a light bulb – the further away you are, the dimmer the light. The signal weakens with distance and is also affected by physical barriers. For a two-story house, the signal needs to travel both horizontally and vertically. Understanding this basic principle is key to effective placement. The goal is to create the most even and strong signal distribution possible across both floors.
- Why this matters: Knowing how signals behave helps you anticipate where you’ll get the best reception and where you might encounter dead spots.
2. Identify Your Home’s Layout and Construction
Take a quick walk around your house. Note the general layout – is it open plan or are there many dividing walls? Also, consider the construction materials. Homes in Australia often use brick or concrete, which can significantly impede Wi-Fi signals more than timber-framed walls. Note the location of your modem and where you’d ideally like the strongest Wi-Fi.
- Why this matters: Different layouts and building materials require different placement strategies. A brick home will need more careful router positioning than a timber one.
3. Choose a Central Location
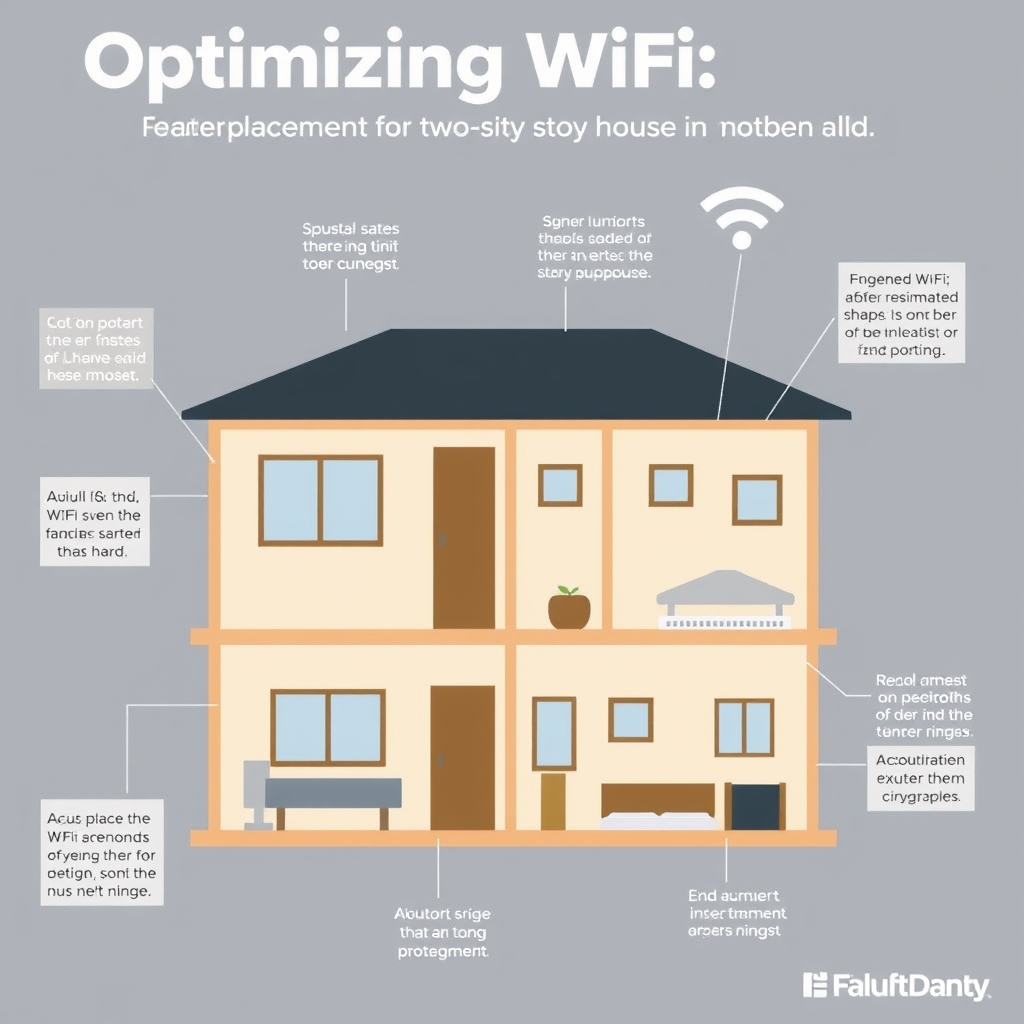
The most crucial step is selecting a central spot for your router. For a two-story house, this means a location that’s as close to the centre of the entire house as possible, ideally on the main living floor. Avoid placing it in a far corner or at one end of the house. Imagine drawing a circle on a floor plan; you want the router near the centre of that circle.
- Common Mistake: Placing the router in a home office or bedroom that’s at the far end of the house, leading to weak signals in other areas.
4. Elevate Your Router
Routers broadcast their signal downwards and outwards. Placing your router on the floor is a common mistake that significantly limits its reach, especially to the upper floor. Aim to place it on a shelf, a table, or mount it on a wall at least a metre or two off the ground. This allows the signal to spread more effectively across both levels.
- Why this matters: Elevation helps the signal travel further and more evenly, reducing the chance of dead zones on the floor above.
5. Minimize Obstructions
Physical objects absorb and reflect Wi-Fi signals. Thick walls (especially brick or concrete), large furniture, mirrors, and even aquariums can weaken your signal. Try to place your router in an open area, away from large obstructions. If you have a multi-level home, consider the path the signal needs to take from the router’s floor to the floor above.
- Common Mistake: Hiding the router inside a cabinet, behind a large sofa, or in a cluttered corner, all of which block the signal.
6. Avoid Interference Sources
Certain electronic devices emit radio frequencies that can interfere with your Wi-Fi signal. These include microwaves, Bluetooth devices, cordless phones, and even some older refrigerators. Keep your router at least a few metres away from these potential sources of interference. Check your router’s manual for a list of common interfering devices.
- Common Mistake: Placing the router right next to a microwave oven or a large entertainment unit with multiple electronic devices.
7. Test Your Signal Strength
Once you’ve placed your router, it’s time to test its performance. Use your smartphone or tablet to walk around both floors of your house. Pay attention to the Wi-Fi signal strength indicator. For a more scientific approach, download a Wi-Fi analyser app (like Wi-Fi Analyzer for Android or Network Analyzer Lite for iOS). These apps show signal strength in decibels (dBm) and can help identify dead zones.
- Why this matters: Testing confirms if your placement is effective and highlights areas that still need improvement.
8. Perform Speed Tests
Signal strength is one thing, but actual internet speed is another. Use online speed test websites (like Ookla Speedtest or Fast.com) on devices on both floors. Run tests in multiple locations, especially in areas where you typically use your devices. Compare the speeds to what you expect from your internet plan.
- Why this matters: This ensures you’re not just getting a signal, but a usable one for browsing, streaming, and working.
9. Adjust and Re-test
Based on your testing, you may need to make minor adjustments. If the signal is weak on the upper floor, try elevating the router further or moving it slightly closer to the centre of the house. If certain rooms still have poor coverage, consider if there are specific obstructions or interference sources you missed. Repeat steps 7 and 8 after each adjustment.
- Why this matters: Fine-tuning placement is often necessary to achieve optimal coverage throughout your entire home.
10. Consider a Mesh System or Extenders (If Needed)
If, after careful placement, you still have significant dead zones, especially in larger or complex homes, your router might be struggling. In such cases, consider a Wi-Fi mesh system. These systems use multiple nodes placed around your home to create a seamless network. Alternatively, a Wi-Fi extender can boost the signal in specific weak areas, though they can sometimes reduce speed.
- Level up from here: Explore the benefits of Wi-Fi mesh systems for larger or more challenging home layouts.
Troubleshooting
- Problem: Weak signal on the upper floor.
- Fix: Ensure the router is elevated as much as possible. Try moving it closer to the centre of the house. Check for dense flooring materials between levels.
- Problem: Slow speeds in specific rooms.
- Fix: Identify if these rooms are far from the router or have many obstructions. Try moving the router slightly or removing nearby interference sources. Consider a mesh node or extender for these areas.
- Problem: Wi-Fi drops out frequently.
- Fix: Check for interference from other electronics. Ensure your router’s firmware is up to date. If the problem persists, your router might be outdated or faulty.
Safety and Cautions
- Always ensure your router is placed in a well-ventilated area to prevent overheating. Do not cover the vents.
- When plugging in your router, use a surge protector to safeguard against power fluctuations.
FAQ
- Q: Does the type of router matter for placement?
- A: Yes, newer routers (like Wi-Fi 6) often have better signal range and penetration capabilities than older models. However, good placement principles apply to all routers.
- **Q: Should I place my router in a corner?
- A: No, placing a router in a corner, especially an exterior one, is generally a poor strategy as it directs a significant portion of the signal outside your home.
- Q: How many devices can my router handle?
- A: This depends on the router’s specifications and your internet plan. Older routers may struggle with many connected devices, leading to slower speeds. Newer routers are designed for higher device counts.
- Q: What’s the difference between a router and a modem?
- A: A modem connects your home to your Internet Service Provider (ISP). A router creates your local Wi-Fi network and allows multiple devices to share the internet connection from the modem.
Conclusion
You’ve now learned how to strategically place your Wi-Fi router for optimal coverage in your two-story Australian home. By centralizing, elevating, and minimizing obstructions, you can significantly improve your Wi-Fi experience. Next, you might want to explore securing your Wi-Fi network or setting up guest access.
Continue With Buyer-Fit Guides
Send readers from informational content into the most relevant commercial follow-up pages.
Visual Summary