Tech · US · howto
How to Set Up a Monitor Arm on a Small Desk: A Step-by-Step Guide with Measurements
Published May 27, 2026
Disclosure: This page may include affiliate links. We may earn a commission if you buy through them.
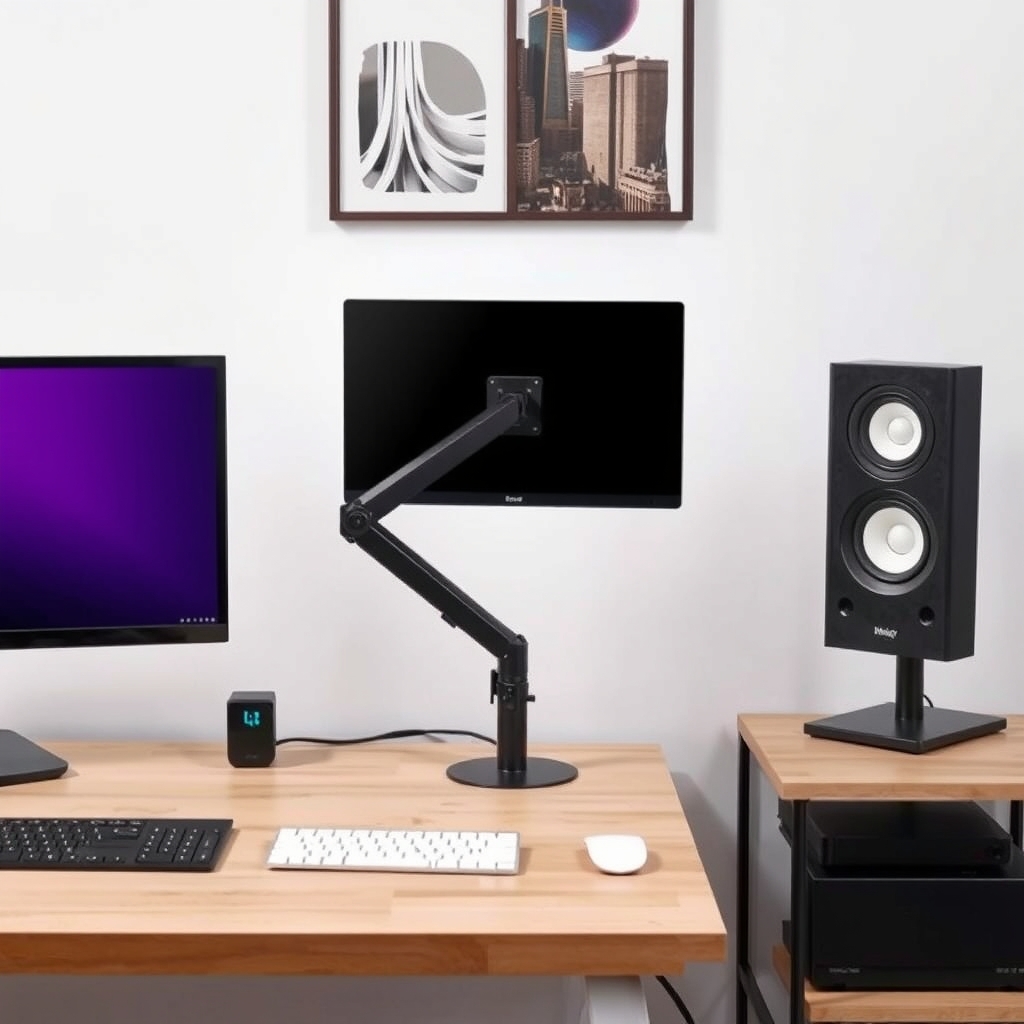
Transforming your compact workspace with a monitor arm is achievable, even with limited real estate. This guide will walk you through the process, ensuring a stable, ergonomic, and clutter-free setup. You’ll learn how to properly install and adjust your monitor arm, maximizing your desk’s functionality and comfort. This project is beginner-friendly and can be completed in under an hour.
Before You Start
Skills: Basic dexterity, ability to follow instructions.
Tools:
- Phillips head screwdriver (often included with the monitor arm)
- Measuring tape
- Level (optional, but helpful for perfect alignment)
- Drill with appropriate bit (if using a grommet mount and your desk doesn’t have a pre-drilled hole)
- Pliers (sometimes needed for stubborn bolts)
Materials:
- Monitor arm kit (ensure it’s compatible with your monitor’s VESA pattern and weight)
- Your monitor
- Your desk
Accounts: None required.
Estimated time: 30-60 minutes (assuming a steady pace).
Step 1: Prepare Your Desk and Monitor
Before attaching anything, clear your desk surface completely. Identify the edge of your desk where the monitor arm clamp will attach. Measure the thickness of your desk’s edge. Most clamps are designed for desks between 0.5 inches and 3.5 inches thick. If your desk is thicker or thinner, you may need a specialized clamp or a different mounting solution. For grommet mounts, measure the desired location for the hole and ensure there are no obstructions (like internal supports or wiring) beneath the surface. Check your monitor’s VESA mounting pattern (the square of holes on the back) and confirm it matches the monitor arm’s specifications. Ensure your monitor is unplugged from power and any data cables are disconnected.
- Why this matters: A clean workspace prevents accidental damage and makes installation easier. Knowing your desk’s thickness is crucial for selecting the correct mounting method and ensuring a secure fit.
Step 2: Install the Monitor Arm Clamp or Grommet Mount
For Clamp Mounts: Position the clamp on the edge of your desk, ensuring it’s flush against the surface. Tighten the clamp screws firmly using your screwdriver. Alternate tightening the screws to ensure even pressure. The arm should feel stable and not wobble when you gently pull on it.
For Grommet Mounts: If your desk has a pre-drilled hole, feed the grommet bolt through it and secure it from the underside with the provided hardware. If you need to drill a hole, use a drill bit appropriate for your desk material (wood, particleboard, etc.). A 3-4 inch diameter hole is common, but always check the monitor arm’s manual for specific requirements. Ensure the hole is smooth to avoid damaging cables. Once the grommet is installed, attach the arm base to it.
- Common mistake: Over-tightening clamp screws can damage your desk’s finish. Under-tightening will result in a wobbly mount. Aim for snug and secure.
Step 3: Attach the Monitor to the Arm
Most monitor arms come with a VESA mounting plate that detaches from the main arm. Unscrew this plate and attach it to the back of your monitor using the screws provided with the monitor arm kit. Your monitor’s manual or the VESA mounting holes themselves will indicate which screw size is appropriate. Often, there are multiple sizes included. Once the VESA plate is securely fastened to the monitor, carefully lift the monitor and align the plate with the mounting bracket on the end of the monitor arm. Most arms have a quick-release or locking mechanism to secure the monitor to the arm. Ensure it clicks or locks firmly into place.
- Why this matters: Incorrectly attached VESA plates can lead to the monitor falling off the arm, causing damage to both the monitor and the arm.
Step 4: Adjusting the Monitor Arm for Ergonomics
With the monitor attached, begin adjusting the arm. Most arms have tension knobs or levers to control the stiffness of the joints. Start by loosening these slightly to allow the monitor to move freely. Position your monitor at eye level. A good rule of thumb is that the top of your screen should be level with your eyes when you are sitting upright. The monitor should also be about an arm’s length away from you. Adjust the tilt so you aren’t straining your neck up or down. Fine-tune the height, distance, and tilt until you achieve a comfortable viewing position. Once set, gradually tighten the tension knobs to hold the monitor in place.
- Why this matters: Proper ergonomic setup reduces eye strain, neck pain, and shoulder discomfort, improving your overall health and productivity.
Step 5: Cable Management Tips for a Clean Setup
Now that your monitor is positioned, tackle cable management. Most monitor arms include built-in cable clips or channels. Route your power and display cables (HDMI, DisplayPort, etc.) through these clips, keeping them tidy and preventing them from dangling. Ensure the cables have enough slack to allow the monitor arm to move freely through its full range of motion without pulling or stressing the connections. Use zip ties or Velcro straps for extra organization if needed. A clean cable setup not only looks better but also prevents cables from snagging on desk items or getting damaged.
- Common mistake: Forgetting to leave enough slack in the cables. This can restrict the arm’s movement or even disconnect your monitor when you adjust its position.
Troubleshooting Common Issues
Monitor Sagging or Dropping
Problem: The monitor arm doesn’t hold the monitor’s weight, and it slowly sinks.
Fix: This usually means the tension in the arm’s joints is too low. Locate the tension adjustment screws or knobs (often on the arm’s pivot points or gas spring mechanism) and tighten them gradually. If your arm has a gas spring, consult its manual for specific adjustment procedures. Some arms require a specific initial setup tension before they can be adjusted further.
Arm Won’t Stay in Position
Problem: The monitor arm is stiff and difficult to move, or it locks up in one position.
Fix: The tension is likely too high. Loosen the tension adjustment screws or knobs slightly. You may need to experiment to find the right balance between holding position and ease of movement. Ensure all locking mechanisms are fully disengaged before attempting adjustments.
Clamp Slipping or Wobbling
Problem: The monitor arm base slides on the desk edge or feels unstable.
Fix: Ensure the clamp is tightened securely. Check that the desk edge is clean and free of debris. If the clamp has rubber padding, ensure it’s intact and providing grip. For very smooth or finished desk surfaces, consider adding a thin, non-slip mat between the clamp and the desk edge. If the desk edge is damaged or uneven, the clamp may not seat properly, and you might need to reinforce the edge or consider a grommet mount.
Safety and Cautions
- Always unplug your monitor before attaching or detaching it from the arm.
- When drilling holes for a grommet mount, wear safety glasses to protect your eyes from debris.
- Ensure the monitor arm is rated for the weight of your specific monitor. Exceeding the weight limit can cause the arm to fail.
- Be mindful of pinch points when adjusting the arm, especially around the joints.
Frequently Asked Questions
Q1: Can I use a monitor arm on a glass desk? A1: Yes, but you must use a grommet mount or a clamp specifically designed for glass desks, often with extra padding to prevent scratching. Ensure the desk is sturdy enough to support the weight and movement.
Q2: What is VESA? A2: VESA (Video Electronics Standards Association) is an organization that sets standards for display mounting. The VESA mounting pattern refers to the standardized arrangement of screw holes on the back of monitors and TVs for attaching them to stands or arms.
Q3: How do I know if my monitor is compatible? A3: Check the back of your monitor for four screw holes in a square pattern. Note the distance between these holes (e.g., 75x75mm or 100x100mm). This is the VESA pattern. Compare this to the specifications of the monitor arm you intend to purchase.
Q4: Do monitor arms work with curved monitors? A4: Most monitor arms are compatible with curved monitors as long as the monitor’s weight and VESA pattern fall within the arm’s specifications. The curvature itself doesn’t typically affect mounting.
Conclusion
You’ve successfully set up your monitor arm, optimizing your small desk for better ergonomics and a cleaner look. Enjoy your enhanced workspace! Next, consider exploring advanced cable management techniques or upgrading to a dual-monitor setup if space allows.
Continue With Buyer-Fit Guides
Send readers from informational content into the most relevant commercial follow-up pages.
Editor Picks
Amazon
Shop monitor arms on Amazon
monitor arm
Open offerAmazon
Shop noise cancelling earbuds on Amazon
noise cancelling earbuds
Open offerAmazon
Shop bluetooth headphones on Amazon
bluetooth headphones
Open offerVisual Summary